Doll RepairAmazing Doll Repair Transformation
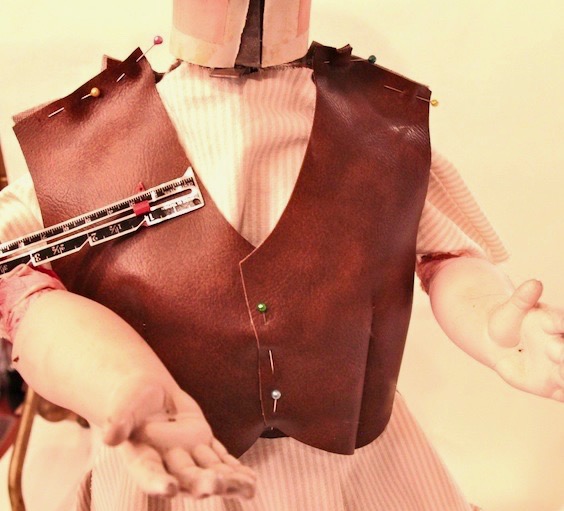
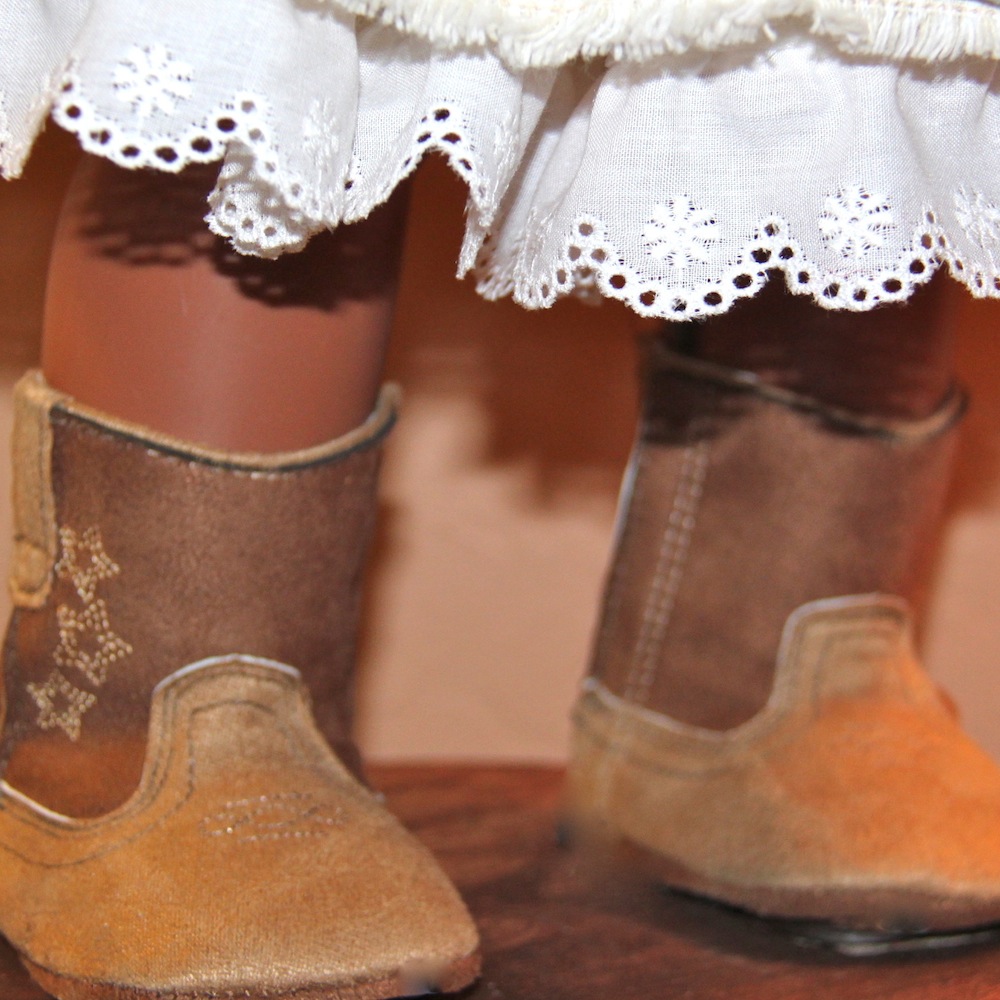
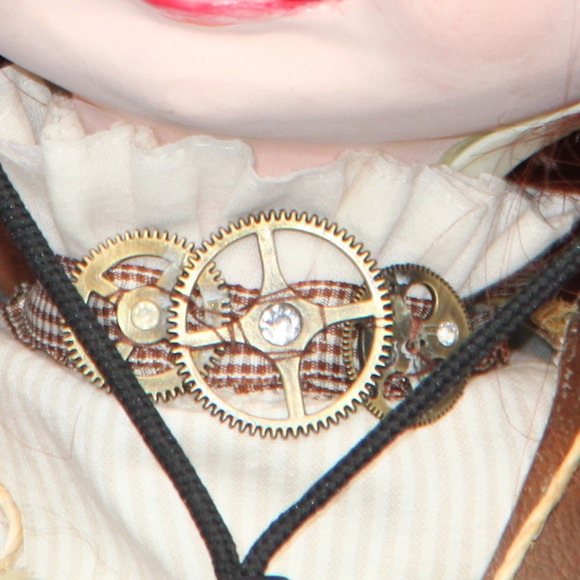
Presenting Miss Dolly; Amazing doll repair transformation! Miss Dolly was found in a dump! After cleanup, repair, and a makeover, she has a whole new life! Check out this full page for details. 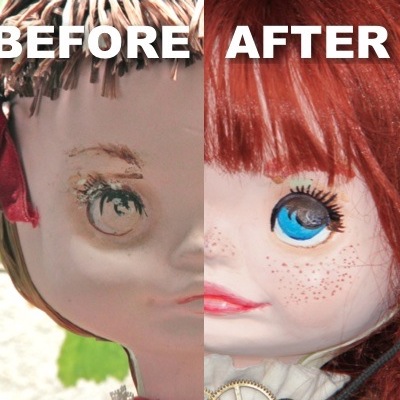 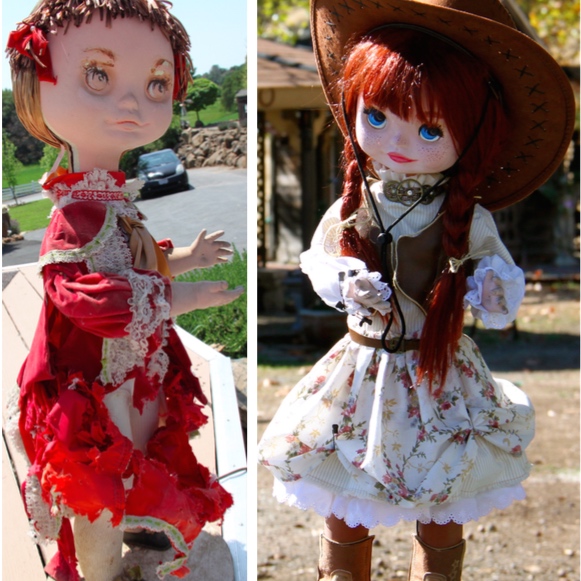 Clothes, boots, hat, hair, jewelry & makeup!Miss Dolly was done with mostly found items and without any expertise on doll repair. Just a little soap and water, custom home-made clothes, boots, hat, hair, makeup, and jewelry for a whole new look. Miss Dolly was rescued from the dump and about to become a target, so this makeover was more of a reprieve then a restoration. For proper restoration of antiques and other valuables, a professional restorer should be consulted, and there are many books on the subject, Miss Dolly's StoryMiss Dolly's transformation covers everything from her life story, to the making of her clothes, including the vintage sewing patterns used. The cute little leather vest was super easy and took less than an hour. The belt, make-up, boots, and steampunk styled jewelry are all covered too. OVERVIEW Miss Dolly was nearly sent to the dump a second time, when we decided to clean her up, repair her, make new clothes, and give her a makeover. The skeptics said it couldn't be done and have been proven wrong. Everyone was pleasantly surprised to see her come back to life with such a bang. Her story had to be told. Doll repair can be intimidating, but we just took it a step at a time. First stripping her of the rat infested clothes, Removing the many staples that held her straw hair, giving her a careful cleaning, and building her back up from head to toe. Three layers of clothes, including a cream colored cotton/linen dress with a ruffle at the hem. Second layer is a striped cotton fabric with a ruffle. Third layer is a skirt with a gathered waist (using twine to gather and tie in back, and old steampunk safety pins to create the swag around the skirt, which then exposes the striped layer. The top layer also includes the brown leather vest trimmed in twine. The brown leather vest took about an hour, partly because there was no hemming, button holes, zippers, snaps, etc. A little velcro in a couple key places, a little twine to outline the vest for extra pizazz, and that was it. A left over scrap from a previous project is all it took. subscribe for our free ezine with only your email. |
Subscribe with only your email
Doll Patterns
Sister Sites
