Red Hat Blouse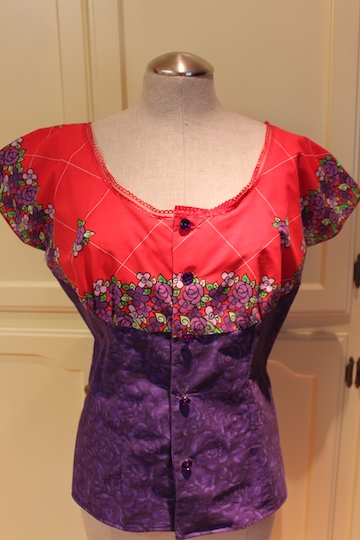 Red Hat Blouse Materials 2 Red Hat Napkins/Upper Bodice Garage Sale $1 ea= $2
Purple Fabric Already Owned $0
Trim $12
Total $14
Inspiration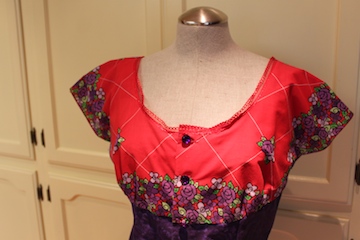 How the Red Hat blouse came about.
When the best part of the sheet dress got covered up, I was determined I would make another dress, and do it right this time. Before beginning, I wanted to practice with something smaller. I decided to make a top, using the upper and bodice pieces only. No skirt this time. Just to get some practice in before going for the full dress again. I needed a smaller bite size project before getting back to it. This Red Hat blouse seamed to be just the ticket.
Napkins for the Fabric!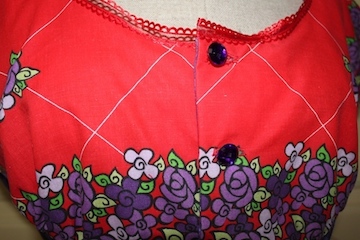 REd Hat BlouseI wanted to make something red and purple for my next Red Hat event. Again, I didn't want to buy anything, we were fresh into the recession and I was still on a no spending spree. I started going through all my red and purple fabric and realized I had some cloth napkins that were actually Red Hat napkins. Napkins were not enough, so I used two napkins in combination with some purple fabric I already owned. It was beautiful and I couldn't wait to get started.
Sewing it Together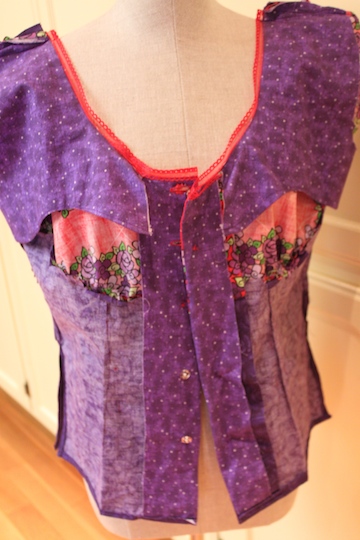 Since I wasn't lining this top, and there would be a much smaller amount of fabric to deal with, I was feeling pretty confident and excited about this cute little top.
I lengthened the bodice to bring it down to the hip (since there would be no skirt). I prepared the fabric (wash, dry, iron, layout), then pinned, marked, clipped, cut and sewed it all together. Things went pretty well.
Customization of Buttons Again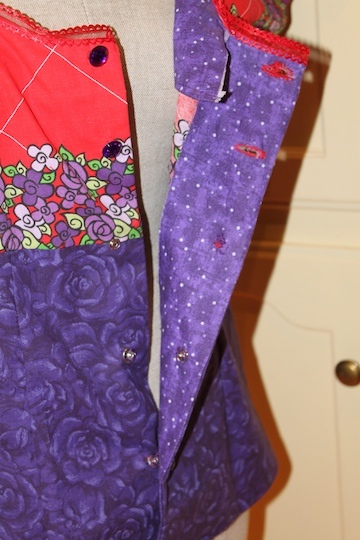 Since I had these beautiful purple glass buttons and they were perfect for this Red Hat blouse, I really wanted to use them. The problem was, they wouldn't be very practical for buttoning, so I used snaps behind the unworking buttons. It worked pretty well. That was the least of my problems with this top.
End Result & What I Learned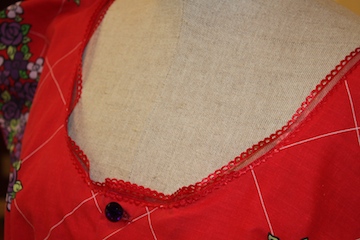 I wore the Red Hat blouse to the event, but found it kept moving up on me. Without the weight of the skirt or a lining, the top didn't have any weight to it, and it didn't fit very well. it was too big. I guess I didn't notice that when trying it on, because it was fine when just standing in front of a mirror. Also the trim I used for the neck line was not right. It had no give or stretchiness to handle a scoop neck, so it kind of controlled the neck line and took it out of proportion and shape a bit. I'm not sure what I will do with it, but it is not wearable for me at this time. I'll probably take another stab at trying to alter it and make it wearable. I love the look and of course it will come in handy for my Red Hat events, so I do plan to get back to it and make it work. Sometimes that is when the best part of an idea comes about. When you have to get creative to solve a problem. 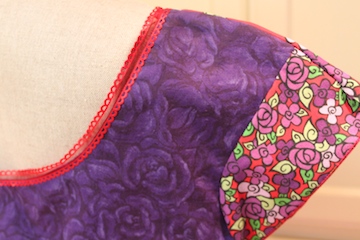 About the Photos & Dress-FormThis dress-form is probably a size 4, and I'm having a blast dressing it up in all my creations. I can pin the dress on to look just right. It's like playing with dolls again. Of course the photos are much better too. My dresses are actually size 10 to 14, so there's a lot of extra fabric clipped in the back. |
Sister Sites
